In today’s digital age, educators and parents often accumulate vast collections of educational resources—from worksheets and lesson plans to interactive activities and digital books. Without proper organization, these valuable materials can become overwhelming and difficult to access when needed. This tutorial will guide you through creating an efficient, searchable, and user-friendly digital library for your educational resources.
Why Organize Your Digital Educational Resources?
Before diving into the how-to, let’s consider the benefits of a well-organized digital resource library:
•Time savings: Quickly find exactly what you need when you need it
•Reduced duplication: Avoid downloading or purchasing resources you already have
•Better utilization: Use more of what you have instead of forgetting about valuable resources
•Easier sharing: Efficiently share resources with colleagues, students, or other family members
•Stress reduction: Eliminate the frustration of searching through scattered files
Step 1: Assess Your Current Resources and Needs
Before creating your organizational system, take stock of what you have and how you use it.
Inventory Your Resources
1.List the types of resources you have:
•Digital worksheets and printables
•Interactive activities and games
•E-books and reading materials
•Video tutorials
•Audio resources
•Lesson plans and curriculum materials
•Assessment tools
2.Note the file formats:
•PDFs
•Images (JPG, PNG)
•Word/Google documents
•PowerPoint/Google slides
•Interactive files (HTML5)
•Video files
•Audio files
3.Consider how you use these resources:
•By subject area
•By grade level or age group
•By project or unit
•By season or time of year
•By skill or learning objective
Determine Your Access Needs
Think about when and how you need to access these resources:
•Do you need them across multiple devices?
•Do you share them with others?
•Do you need offline access?
•How quickly do you need to find specific resources?
Step 2: Choose Your Storage Solution
Based on your needs assessment, select the appropriate storage solution(s):
Cloud Storage Options
1.Google Drive:
•Pros: Free (up to 15GB), excellent for Google Workspace users, strong sharing capabilities
•Cons: Requires internet connection for full functionality
•Best for: Educators using Google Classroom or those who collaborate frequently
2.Dropbox:
•Pros: Simple interface, good syncing across devices, selective sync options
•Cons: Limited free storage (2GB)
•Best for: Users who need seamless desktop integration
3.Microsoft OneDrive:
•Pros: Integration with Office 365, 5GB free storage
•Cons: Less intuitive for non-Microsoft users
•Best for: Schools or individuals using Microsoft products
4.Apple iCloud:
•Pros: Seamless integration with Apple devices, 5GB free storage
•Cons: Less functional for non-Apple users
•Best for: Apple ecosystem users
Local Storage Options
1.External Hard Drive:
•Pros: Large storage capacity, no internet required, one-time cost
•Cons: Not accessible remotely, risk of physical damage
•Best for: Large resource collections, backup purposes
2.Computer Hard Drive:
•Pros: Immediate access, no internet required
•Cons: Limited to one device, risk of computer failure
•Best for: Frequently used resources, temporary storage
Hybrid Approach (Recommended)
For most educators and parents, a hybrid approach works best:
•Cloud storage for frequently accessed and shared resources
•Local backup for everything
•Synchronization between devices for convenience
Step 3: Design Your Folder Structure
A logical folder structure is the foundation of your digital library.
Primary Organization Method
Choose ONE primary organization method based on how you typically search for resources:
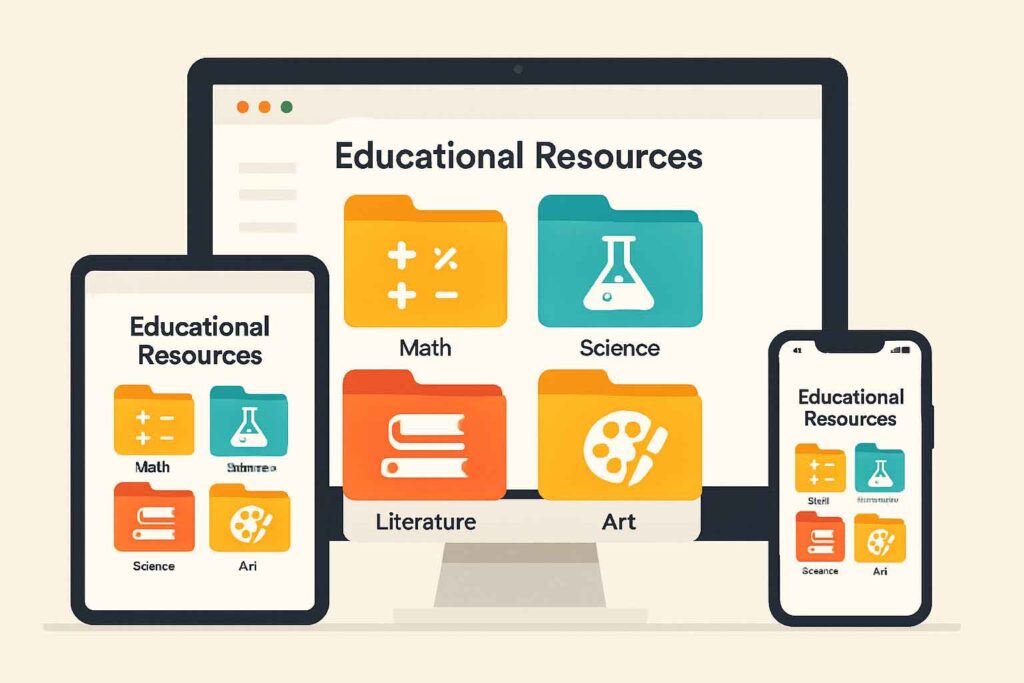
1.Subject-Based Structure:
Educational Resources/
├── Mathematics/
├── Language Arts/
├── Science/
├── Social Studies/
├── Art/
├── Music/
└── Physical Education/
1.Grade Level Structure:
Educational Resources/
├── Preschool/
├── Kindergarten/
├── First Grade/
├── Second Grade/
└── [etc.]
1.Learning Objective Structure:
Educational Resources/
├── Reading Comprehension/
├── Number Sense/
├── Scientific Inquiry/
├── Critical Thinking/
└── [etc.]
1.Resource Type Structure:
Educational Resources/
├── Worksheets/
├── Lesson Plans/
├── Interactive Activities/
├── Videos/
└── Assessment Tools/
Secondary Organization
Within your primary structure, create a consistent secondary organization:
For example, if using a subject-based primary structure:
Mathematics/
├── Kindergarten/
│ ├── Counting
│ ├── Shapes
│ └── Patterns
├── First Grade/
│ ├── Addition
│ ├── Subtraction
│ └── Measurement
└── [etc.]
Naming Conventions
Establish consistent file naming conventions:
1.Basic Format: [Grade]-[Subject]-[Topic]-[Type].[extension] Example: 2-Math-Fractions-Worksheet.pdf
2.For seasonal or dated materials: [YYYY-MM]-[Subject]-[Topic].[extension] Example: 2023-10-Halloween-Counting.pdf
3.For series or sets: [Subject]-[Series Name]-[##].[extension] Example: Science-ExperimentSeries-01.pdf
Step 4: Implement Metadata and Tagging
File names can only contain so much information. Enhance searchability with metadata:
Cloud Storage Tagging
1.Google Drive:
•Use color-coding for quick visual identification
•Add descriptions to files with additional keywords
•Use Google Drive’s search operators (type:, owner:, etc.)
2.Other Cloud Services:
•Most offer similar tagging or labeling systems
•Explore platform-specific features like Dropbox’s automated file categorization
Local File Metadata
1.For PDFs:
•Use PDF editing software to add keywords in document properties
•Consider tools like Adobe Acrobat or free alternatives like PDFelement
2.For Images:
•Add metadata through file properties (right-click > Properties > Details)
•Use image management software for batch processing
3.For Office Documents:
•Add tags and categories in document properties
•Include keywords in document headers or footers
Step 5: Create a Resource Inventory Spreadsheet
A master inventory spreadsheet serves as a searchable database for your resources:
1.Set up a spreadsheet with these columns:
•Resource Name
•File Type
•Subject/Category
•Grade Level/Age Range
•Skills/Standards Addressed
•Keywords
•Location (folder path or URL)
•Notes/Description
2.Use filtering and sorting to quickly find resources
3.Consider using Google Sheets for:
•Accessibility across devices
•Collaboration features
•Integration with Google Drive links
Example template:
| Resource Name | File Type | Subject | Grade | Skills | Keywords | Location | Notes |
| Fraction Circles | Math | 3-4 | Equivalent fractions | fractions, circles, manipulatives | Math/Fractions/ | Includes color and B&W versions | |
| Plant Life Cycle | PowerPoint | Science | 2 | Observation, sequencing | plants, life cycle, botany | Science/Plants/ | Interactive slides with animations |
Step 6: Implement a Digital Resource Management System
For larger collections or professional needs, consider dedicated resource management tools:
Free Options
1.Trello:
•Create boards for different subjects
•Use cards for individual resources
•Add labels, checklists, and attachments
•Link directly to cloud storage
2.Notion:
•Create databases with custom properties
•Link related resources
•Embed files and previews
•Share specific pages with others
3.Wakelet:
•Collect and organize resources by topic
•Include web links alongside your files
•Share collections with students or colleagues
Paid Options
1.Evernote:
•Organize with notebooks and tags
•Search within PDFs and images
•Access across all devices
2.Microsoft OneNote:
•Create notebooks by subject
•Embed files directly
•Handwritten notes and annotations
3.Learning Management Systems (for educators):
•Canvas, Schoology, or Google Classroom
•Organize by course and unit
•Share directly with students
Step 7: Establish Maintenance Routines
Even the best organizational system requires maintenance:
Weekly Maintenance
1.Process new resources immediately:
•Rename according to your convention
•Place in the appropriate folder
•Add to your inventory spreadsheet
•Apply relevant tags
2.Delete temporary files and duplicates
Monthly Maintenance
1.Review recent additions to ensure proper categorization
2.Check for broken links in your inventory spreadsheet
3.Update tags and metadata for frequently used resources
Quarterly Maintenance
1.Perform a system backup
2.Archive rarely used resources to reduce clutter:
•Create an “Archive” folder
•Move seasonal or grade-specific resources you’re not currently using
•Keep them in your inventory but marked as “Archived”
3.Reassess your organizational system:
•Is it still meeting your needs?
•Are there new categories to add?
•Could some categories be consolidated?
Step 8: Implement Sharing and Collaboration
Maximize the value of your resource library by setting up efficient sharing:
For Educators
1.Create shared folders for grade-level teams or subject departments
2.Establish contribution guidelines:
•File naming conventions
•Required metadata
•Quality standards
3.Set up permission levels:
•View only for resources that shouldn’t be modified
•Edit access for collaborative materials
•Comment access for feedback
For Parents
1.Create family sharing for educational resources:
•Shared folders accessible to caregivers
•Consider read-only access for children
2.Set up device-specific collections:
•Sync age-appropriate resources to children’s devices
•Create shortcuts to frequently used materials
Step 9: Integrate with Daily Workflow
Make your resource library part of your daily routine:
For Lesson Planning
1.Create planning templates that link to your resource library
2.Set up shortcuts to frequently used folders
3.Use browser bookmarks for online resources
For Resource Creation
1.Establish a “drafts” folder for resources in development
2.Create templates for commonly created resource types
3.Set up an “inspiration” collection for ideas
Step 10: Evaluate and Evolve Your System
No organizational system is perfect from the start. Plan to evolve:
1.Track pain points:
•Resources you can’t find
•Folders that become too large
•Confusing categories
2.Solicit feedback from others who use your system
3.Stay current with technology:
•New storage options
•Improved organizational tools
•Automation possibilities
Troubleshooting Common Challenges
Challenge: Too Many Resources to Organize at Once
Solution: Start with current and frequently used resources. Set aside 15-30 minutes daily to organize older materials until complete.
Challenge: Inconsistent Access Across Devices
Solution: Choose cloud storage with good cross-platform apps and offline capabilities.
Challenge: Shared Resources Getting Disorganized
Solution: Create a “receiving” folder for new shared resources, then process them into your system regularly.
Challenge: Difficulty Finding Specific Resources
Solution: Enhance your metadata and consider using a dedicated search tool like DocFetcher for local files.
Conclusion
An organized digital educational resource library saves time, reduces stress, and ensures you get maximum value from your materials. By following these steps and committing to regular maintenance, you’ll create a system that grows with your needs and makes teaching and learning more efficient and enjoyable.